 SwipeWipe
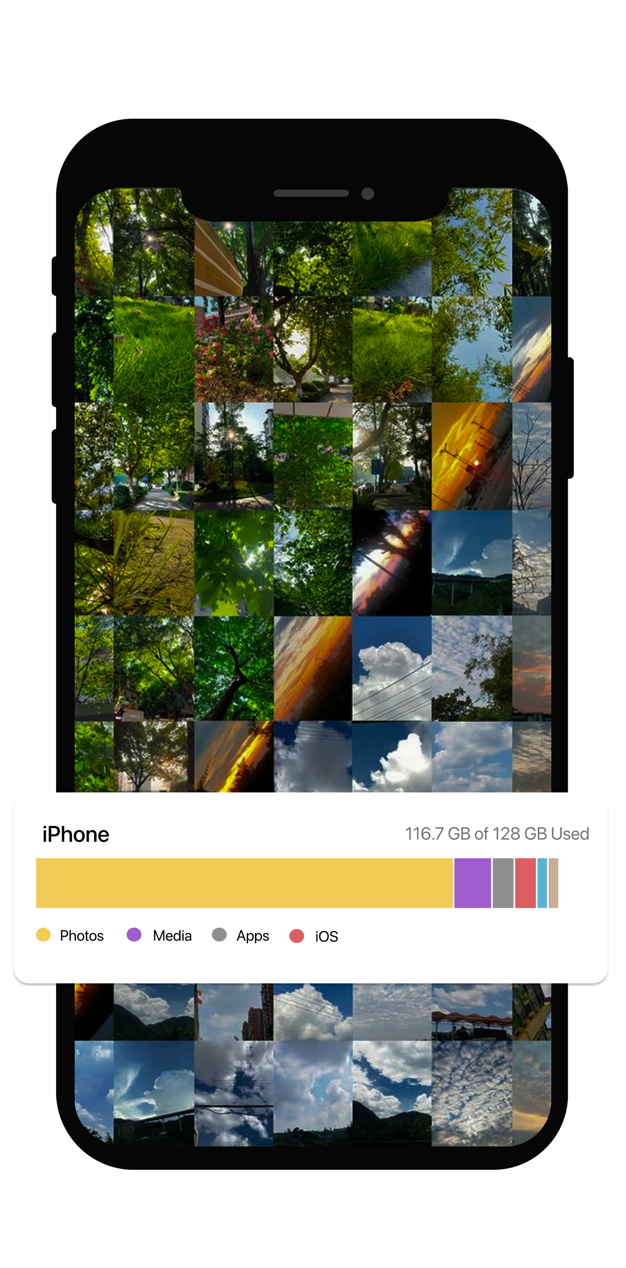
Storage guide
How to free up space on iPhone without deleting important photos.
The safest storage strategy is not random deletion. It is starting with the content categories that are easiest to review and least likely to cause regret: screenshots, duplicates, and near-duplicate shots.
Start with low-risk clutter
These are usually the safest pages to open before you touch more meaningful photos.
Quick answer
If you want more space without deleting important photos, do not begin with sentimental albums. Begin with low-value screenshot clutter, exact duplicates, and then similar shots where several images compete for the same moment.
Clear screenshot clutter first
Screenshots usually carry the least emotional value, which makes them the easiest category to remove with confidence.
Remove exact duplicates
Imports, downloads, and burst leftovers often create safe opportunities to reclaim storage without sacrificing the real keeper.
Review similar photos carefully
When several images capture the same moment, compare them and keep the strongest shot rather than deleting randomly.
Repeat in short cleanup sessions
Small maintenance rounds are safer and easier to trust than one giant storage purge.
What not to do when your iPhone is low on space
Storage pressure makes people rush. That is exactly when regret usually happens.
Do not delete random albums first
Large albums may contain your most important photos. Size alone is not the best reason to start there.
Do not treat every photo like disposable clutter
Some images are obvious extras, but many are memories. Sorting by clutter type is safer than sorting by desperation.
Do not rely on one giant cleanup binge
Fatigue increases mistakes. Shorter review loops lead to better choices and are easier to keep up over time.
A safer cleanup sequence that actually works
The smartest way to free space is to move from low-emotion clutter to higher-value photos, not the other way around.
First: screenshots
- Old receipts, chats, maps, product saves, and temporary references are usually easy to part with.
- They clean visual noise out of the library quickly.
Second: exact duplicates
- These are often the safest storage wins because you are keeping the real photo and removing only repeats.
- They are a great bridge between easy cleanup and more careful photo decisions.
Third: similar photos
- Near-duplicate moments take more thought, but they can unlock significant cleanup once the obvious clutter is gone.
- Choose the keeper first, then remove the rest.
Where SwipeWipe fits
This is where a focused photo-cleanup workflow becomes more useful than trying to manage everything through the Photos app alone.
It helps you start with the safest wins
Instead of forcing one giant storage decision, it routes you into duplicate, similar-photo, and screenshot cleanup paths.
It keeps review close to the decision
You compare first, keep the shot that matters, and then clean up the extras around that choice.
It turns panic cleanup into a repeatable habit
The real long-term win is avoiding the next storage crisis by keeping clutter in check more regularly.
FAQ
What is the safest thing to delete first on iPhone?
Start with low-regret clutter like screenshots and exact duplicates. Those categories usually reclaim space with less emotional risk than deleting random albums.
Can I free up space without deleting important photos?
Yes. The key is to begin with clutter types that are easier to review and less likely to contain unique memories, then move carefully into more valuable photo groups only if needed.
Where should I go after this guide?
If you want the product route next, open clean iPhone storage. If you already know the clutter type, jump straight into screenshots, duplicates, or similar photos.
Why is this better than deleting random apps or videos?
You can remove apps and videos too, but this guide focuses on a safer photo-centered workflow for people whose libraries are the main source of storage pressure.
Related pages
Open the page that matches the kind of low-risk clutter you want to clear first.